
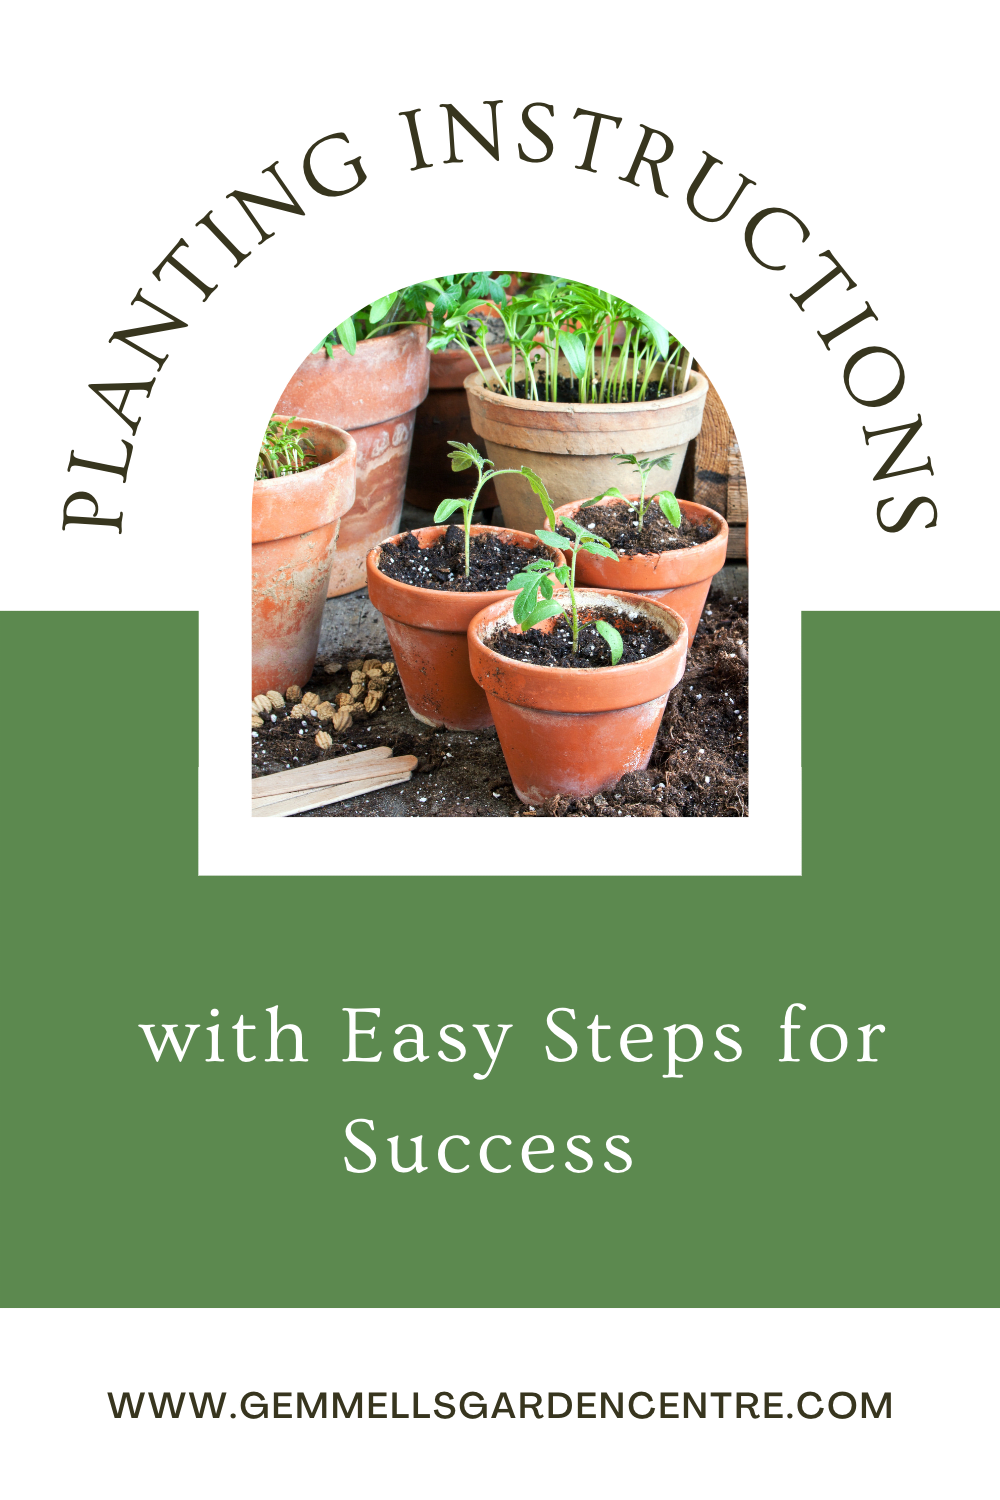
We want you to be successful with your garden. To achieve the best results, we recommend following these basic planting instruction guidelines.
Preparation
Your new plants should be installed as soon as possible. If there is some delay in planting, then it is important to guard against moisture loss. Store plants in a shady, wind protected area, and keep the root area evenly moist.Handle plants gently and use the container or root ball to move the plant. Never hold onto the plant itself. Be sure to place your plants in their preferred growing environment for best results..
Size of Planting Hole
It is vital to dig your planting hole at least 12 cm larger than the root ball on all sides to allow for soil enrichments before planting. When planting large heavy balls, the soil at the bottom of the hole should be left solid to prevent the tree from settling lower. The finished level of the tree or shrub should be the same as it was grown, or up to 8 cm higher if planted in clay.
Plastic Pots
Water thoroughly before removing the container. If a light tapping on sides and bottom does not release the soil, make two cuts the length of the pot on opposite sides and gently pull away the halves. Use your fingers or a knife to gently loosen and spread exposed roots that appear crowded. To free matted or circling roots, make several vertical cuts 13 mm to 2.5 cm deep through the root mass.
Fibre Pots
Fibre pots now contain an additive to extend their life in the nursery. Therefore, they must be removed. Water plant thoroughly, then slit the sides of the pot. Remove the sections of the pot carefully as you push soil down the sides to prevent root ball from falling apart. Continue as above.
Planting in Clay Soils
To ensure vital good drainage when planting in clay soils, enlarge the size of the hole. Raise the level of the planting area 5-8 cm above the surrounding grade by adding sand or gravel in the bottom of the hole. Amend soil by adding a generous amount of 3 in 1 soil mix. Plant as above. Mound soil slightly around root ball of installed plant. Make a raised dam around outside to prevent run-off when watering. Mulch to prevent erosion.
Special Care for Special Plants
Roses may be in fibre or plastic pots. Most roses are grafted on to different root stock. For reasons of hardiness, the grafted area (which will be the swollen area where the stems originate) must be planted 5 cm below the soil. For rhododendrons, azaleas, and other broad leafed evergreens, increase the amount of sphagnum peat moss used by half. Peaches, nectarines, and cherries demand excellent fast draining. DO NOT plant in wet areas. DO NOT overwater.
When the Planting is Completed...
Watering
The initial watering should contain Transplanter 5-15-5 Fertilizer containing a rooting hormone. This fertilization will be the most important your plant will ever get, as it will stimulate the roots to grow into the surrounding soil and establish the plant in its new location. Do not add any more fertilizer during the first year. We recommend starting a fertilizing program in the second year. Never put granular fertilizer in the hole prior to planting!
Deep watering at the dripline (outer edge of branches) encourages a deep root system and your plant will become more drought tolerant. Water only when the soil feels dry to the touch, 5-8 cm down into the root area. Continue this form of watering until the plant is well established and growing. Divert downspouts and sprinklers away from planting area.
Mulching
Apart from their good appearance and the retarding of weed growth, mulches help to retain moisture. Mulch also keeps roots cool in summer and insulated in winter. Maintenance is easier and your plants will thrive.
Easy Steps for Success
- Plant the tree or shrub no deeper than it grew at the nursery.
- It is necessary to plant trees and evergreens in a soil that offers good drainage. Therefore, if you are planting in an area with heavy clay soil, you must make certain modifications before planting.
- It is vital to dig your planting hole at least 12 cm larger than the root ball on all sides to allow for soil enrichments before planting.
- The high phosphorous “Transplanter” type fertilizer is the only appropriate fertilizer to be used in the first season.
- A good soil mix is 50 percent soil, 25 percent peat moss, 25 percent manure.
- Check newly planted material twice weekly to ensure it receives adequate moisture.
- You can help to prevent permanent damage or discolouration caused by desiccation (drying out) of evergreens by watering thoroughly in the fall, before freeze-up. For particularly valuable or sensitive evergreens, use of an anti-desiccant in fall is beneficial.
~ Kelly Heath
Retail Manager
Gemmell’s Garden Centre
Gemmell's Garden Centre Smiths Falls & Brockville - Your Ottawa Valley Garden Centre
Proudly serving Stittsville, Kanata, Smiths Falls, Brockville, Kemptville, Manotick, Carleton Place, Perth, Merrickville, Cornwall, Richmond & everywhere in between.